The rock back is not technically a posture. It’s more of a warm-up.
I find rock backs to be such a useful building block to postures like Child’s Pose and Downward Facing Dog. It is also a beautiful stand alone movement for pelvic floor muscle awareness.
The rock back movement
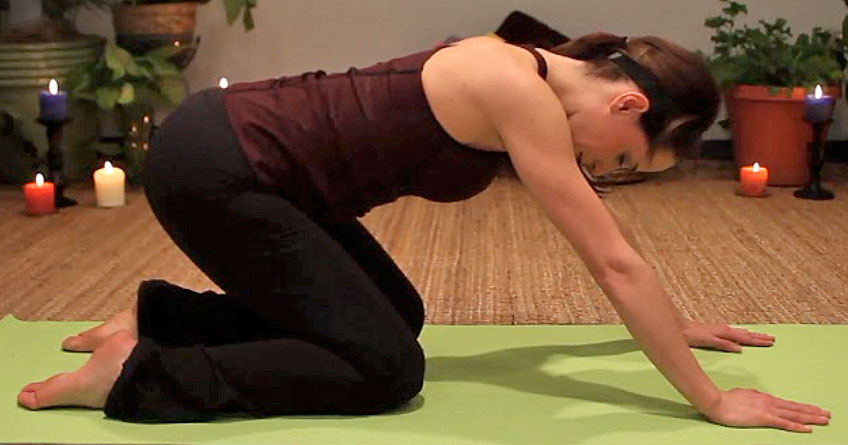
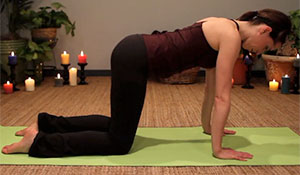 Come onto the floor on your hands and knees. Bring your toes together and knees apart. Knees are under your hips and hands are under your shoulders. Your spine is long from your head to your tailbone.
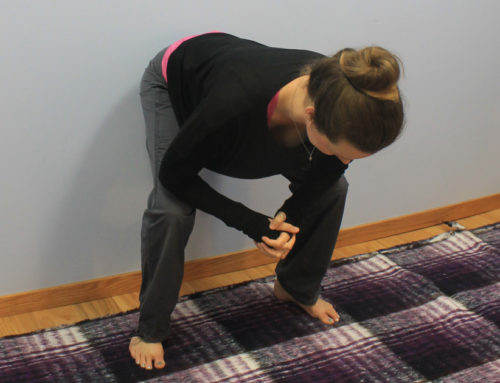
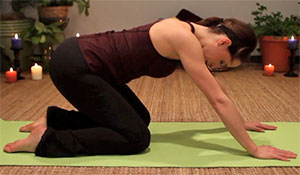 Maintain your long spine as you start to send your pelvis back, being careful not to tuck your pelvis. Think of folding at the hip crease and sending your sitz bones back.
Return to your starting position and repeat.
Add the breath
Now that you have found the shape of the movement, let’s add the breath. As you send your sitz bones back, inhale. As you return to table top position, exhale.
Add pelvic floor imagery
Inhale as your sitz bones head back and hips fold (keeping your spine straight), imagining your sitz bones broadening. During this phase of the rock back we are calling on the inhale to enhance the imagery of expanding the pelvic floor. As you exhale, return back to table top.
Add a posture
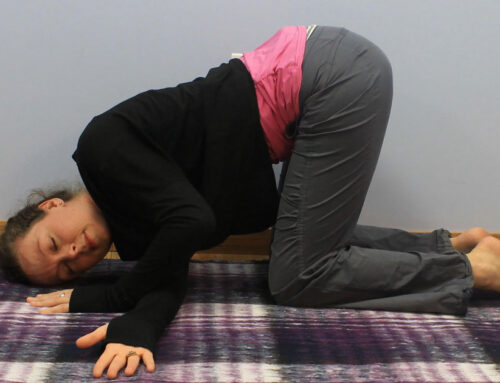
Child’s Pose
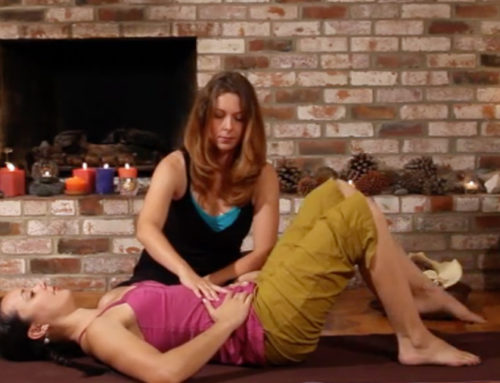
After a few rock backs, pause in table top. Bring your feet together and knees apart. Rock back again, but this time allow your pelvis to curl under and your spine to round. You can rest your forehead on the ground or on stacked fists. Make this posture restorative by placing a pillow or bolster underneath your abdomen.
Downward Facing Dog
After a few rock backs, pause in table top. Tuck your toes under and lift your pelvis up and back. If this feels too shallow, walk your hands forward or feet back. Keep your knees bent as you find your comfort in the posture, keeping your spine long and straight. To read more about Downward Facing Dog, check out these blogs on the benefits and modifications.
I hope you find this helpful!
[…] for Child’s Pose by performing ten Rock Backs as a warm […]
[…] Consider Child’s Pose. Perhaps starting in a table top position feels comfortable but Child’s Pose is too much of a stretch thru the gluts and the area that the pudendal nerve innervates. We can break this movement down into smaller steps by working with rock backs. […]